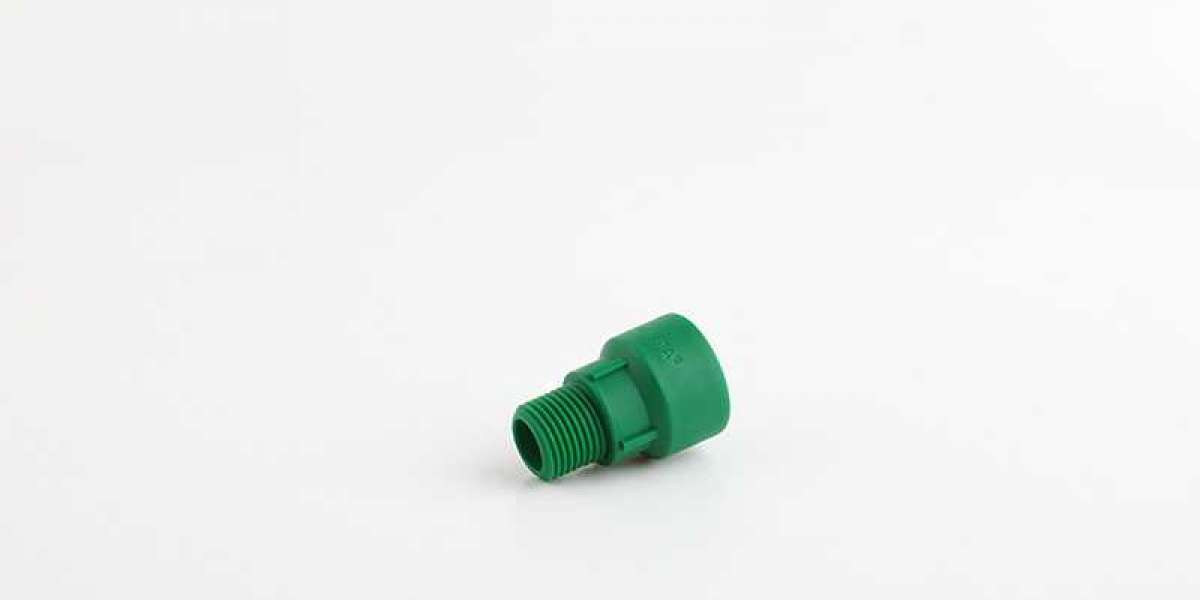
Interestingly, virtually all of the major quick connect fitting brands use the same standard instructions for tube fitting installation.
Insert the tubing into the pp quick connect fitting until it bottoms out on the fitting shoulder.
The shoulder is a stopping point inside the fitting body. By bottoming the tubing out against the shoulder you’re making sure that the ferrules have enough biting surface on the tubing for a strong connection.
Tighten the fitting nut by hand until hand-tight.
Using a marker, mark the fitting nut and body at the 6 o’clock position.
This image depicts a tube fitting being marked at 6 O'clock for proper installation.
Using a wrench, tighten the nut 1-¼ turns from the hand-tight position ending with your mark at the 9 o’clock position.
This image shows the fitting clock positions, illustrating how far to tighten past hand tight.
At this stage, all of the hard work has been complete. Honestly, this is where most installers stop. Unfortunately, there is one final step that many people skip over, and it’s the reason that tube fittings have such a high average of failures.


